

By Khoi Nguyen, P.E., GC
I've reviewed thousands of plan sets and bid hundreds of real jobs, and the bid that sinks a contractor is rarely the one with the wrong price. It's the one built on a takeoff nobody double-checked.
This guide walks the same process I use on my own bids: reading the set, walking the site, taking off quantities, pricing them, and getting the number out the door on time. To make it concrete, we'll run real numbers on a sample residential addition, the kind of set that crosses a bid desk every week.
How to Bid a Construction Job in 7 Steps
Bidding a construction job means reading the plan set, walking the site, breaking scope into trades, running a full quantity takeoff, pricing every line, adding markup, and submitting before the deadline. Skip a step and the number you submit is a guess, not a bid.
Whether the bid is due in 3 days or 3 weeks, the order doesn't change. Here it is:
- Read the plan set and specs before you price anything
- Walk the site and note what the plans don't show
- Break the scope into CSI divisions or trades
- Run the quantity takeoff: measure every wall, area, and count
- Price each line with a cost database or sub quotes
- Add overhead, profit, and contingency to the total
- Assemble the bid package and submit before the deadline
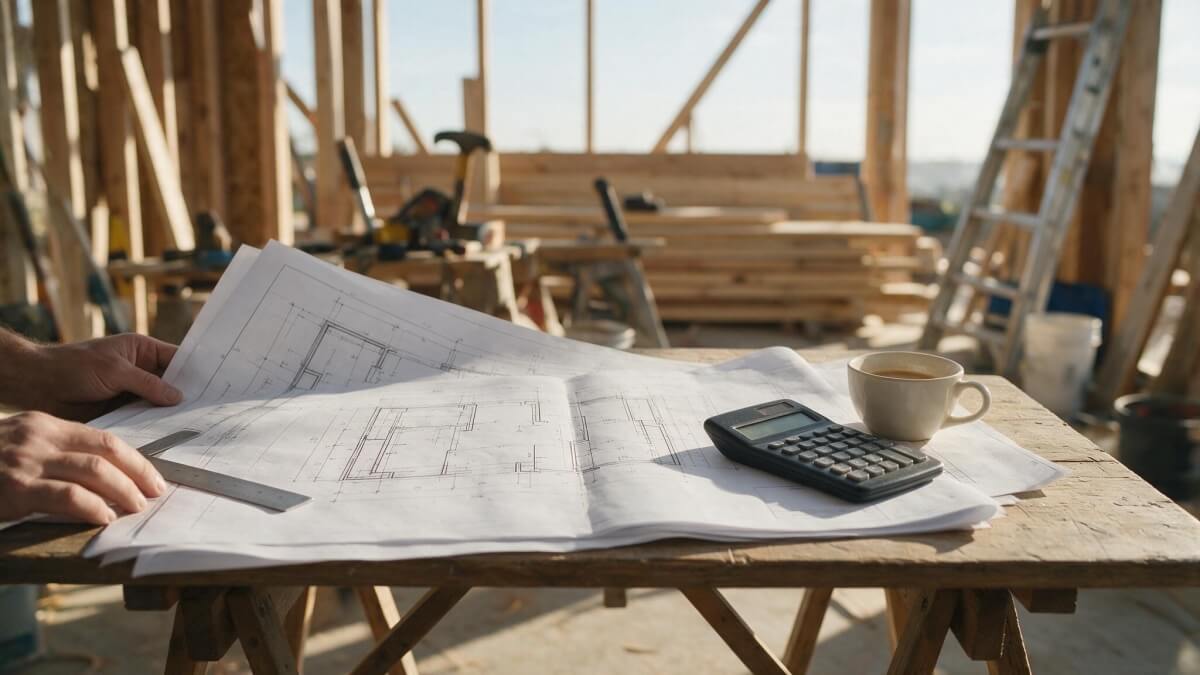
Step 1: Read the Construction Plans Before You Touch a Calculator
Every set has a story hiding in the addenda. Skip them, and you're bidding a project that doesn't exist anymore.
Start with the sheet index, then read the specs before the drawings. The specs tell you what products and standards apply. The drawings tell you where they go.
Watch for revision clouds on reissued sheets. A GC I know missed a structural addendum that dropped the Friday before bid day and priced the old beam size. He ate the difference, about $4,200, because his sub caught it and he didn't.
If anything reads ambiguous, send an RFI before bid day, not after you win the job. Answered RFIs become addenda everyone sees. That protects you if the number changes later.
Step 2: Walk the Construction Site Before You Trust the Plans
Plans show what the designer intended. The site shows what you're actually walking into.
On a remodel or addition, check what a sheet can't capture: crawl space clearance, where the panel actually sits versus where it's drawn, overhead lines that limit lift access. Budget an extra 2 hours for site visits on jobs with tight crawl space or attic access, since that's where the real surprises hide.
Photograph everything. On bid day, when someone asks why your number is higher than the other three, the photo of the collapsed crawl space access is your answer.
Step 3: Break the Construction Scope Into CSI Divisions
Once you know the project, split it by trade using CSI divisions: concrete, masonry, wood framing, thermal and moisture protection, doors and windows, finishes, and the MEP divisions for mechanical, electrical, and plumbing. This is also how subcontractor bids get organized when they land, and it's how you catch the gap between what your GC scope covers and what a sub already priced.
This is where estimators lose scope without noticing it. A door schedule note calling for fire-rated hardware in Division 08 slides past someone reading only the floor plan, and a missed line in Division 26 for temporary power can run $800 or more on a remodel with no existing panel capacity.
The Construction Specifications Institute publishes the current MasterFormat divisions if you need the full list.
Step 4: Take Off the Quantities on a Real Construction Plan Set
Set Your Scale Off Something You Can Verify
Don't trust the scale bar in the title block. Title blocks lie on reissued sets, especially ones that got printed to PDF at less than 100 percent to fit a margin.
Find a dimension you can check twice, like a door opening called out as 3 feet even. Measure it on the sheet, compare it to what the scale bar says it should read, and reset your scale before you take off a single wall.
On the sample set below, the title block reads 1/4 inch equals 1 foot. The 3 foot door opening on Sheet A2 measured out to 2 feet 10.5 inches at that scale, a shrink of about 4 percent from a set printed to PDF at 96 percent to fit the page. Every linear foot on that set would have come in short if I'd trusted the title block.
The Numbers on This Plan Set
Here's what the takeoff on that 1,150 square foot addition actually produced, once the scale was set right.
| Quantity taken off | Raw measurement | Waste factor | Order quantity |
|---|---|---|---|
| Exterior wall framing | 168 LF | 10% | 185 LF |
| Interior wall framing | 84 LF | 10% | 93 LF |
| Roof area (6:12 pitch) | 1,290 SF | 12% | 15 squares |
| Concrete footings | 9.3 CY | 10% | 11 CY |
| Drywall | 4,150 SF | 10% | 143 sheets |
| Windows | 9 count | n/a | 9 |
| Doors | 8 count | n/a | 8 |
Roof area isn't the footprint. A 6:12 pitch adds about 12 percent to the flat square footage, and skipping that step is a common way estimators come up short on shingles and underlayment.
The waste factor matters just as much as the raw measurement. Order framing lumber at zero waste and you'll be back at the yard mid-week paying retail for studs you should have priced in from the start.
Footings on this set run a continuous 18 inch wide, 12 inch deep pour under 168 linear feet of exterior wall. That works out to about 9.3 cubic yards before waste, 11 cubic yards after, which is what you actually call in to the batch plant.
Step 5: Price the Takeoff With a Cost Database or Sub Quotes
A takeoff gives you quantities. Pricing turns quantities into a number a client can sign.
Price self-performed work off your own cost database, kept current for your market, not a national average built on labor rates from somewhere else. Price everything you're not self-performing off actual sub quotes, in writing, before bid day, not a verbal number over the phone at 3:45 on the day bids are due.
On the sample addition, framing lumber and hardware ran about $9,800 at current yard pricing. Concrete, including the footings above plus the slab and labor to place it, priced out around $6,900 at current local ready-mix rates. Windows and doors, at roughly $650 per window and $450 per door installed, added another $9,450.
That's just three lines. Electrical, plumbing, HVAC, roofing, drywall, and finish work make up the rest of the $142,000 direct cost total.
Step 6: Add Overhead, Profit, and Contingency to the Bid
Direct costs aren't your bid. They're the floor under it.
Most residential general contractors mark up direct cost somewhere between 10 and 20 percent to cover overhead and profit, with heavier remodel and addition work often landing at the high end of that range. Markup and margin aren't the same number, and mixing them up is how a contractor thinks he's making 20 percent when he's actually closer to 17.
On this addition, direct costs land around $142,000. A 15 percent markup adds $21,300. A 5 percent contingency for unknowns adds another $7,100.
That contingency matters most on remodel work, where you can't see behind every wall until demo starts. The bid goes out the door at $170,400.
Step 7: Assemble the Bid Package and Submit It Before the Deadline
A bid that arrives one minute late is the same as a bid that never arrived.
Follow the format the solicitation asks for. Public jobs and larger commercial projects often want a bid bond attached, typically 5 to 10 percent of the bid amount, along with your license number, insurance certificates, and any required forms filled out exactly as instructed. AGC's surety bonding resources cover what a bid bond guarantees if you want the detail.
Build in a buffer before the deadline. Bid day at 4 p.m., when three subs still haven't sent their numbers and the portal keeps timing out, is not when you want to be doing math for the first time.
The Mistakes That Sink an Otherwise Good Bid
Most losing bids aren't outbid on price. They're wrong before the pricing even starts.
- Missing an addendum that changed scope after the plans were issued
- Trusting the title block instead of a verified dimension
- Skipping the waste factor and pricing lumber or drywall at zero loss
- Missing an interior wall or two on a busy sheet
- Pricing a scope no sub ever quoted, because everyone assumed someone else had it
Miss 60 linear feet of interior partition wall on a bid for a project this size and you've eaten most of your markup before you break ground. On a $170,000 addition, that's the difference between a job that pays you and one that pays your suppliers instead.
Software That Takes the Manual Work Out of Bidding
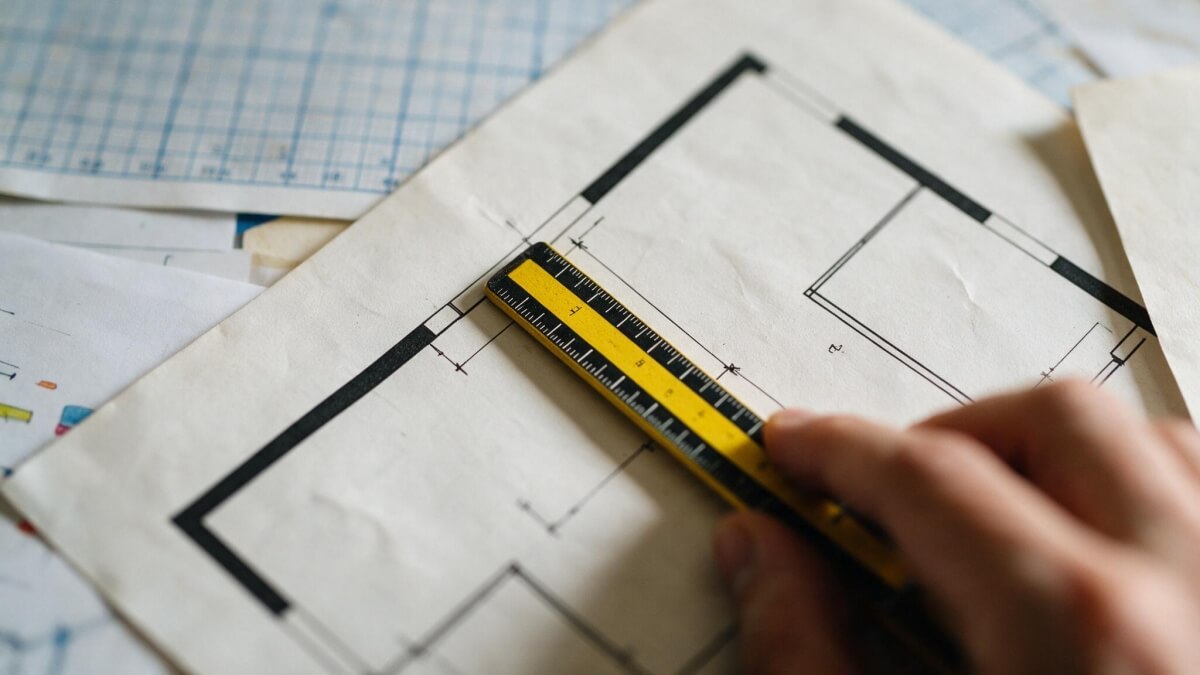
Everything above works with a pencil, a scale ruler, and a spreadsheet. It's also how most estimators lose their Sunday.
AI won't do your takeoff for you. It'll do the first pass, the 4 to 6 hours of measuring walls and counting doors that a 24-sheet set like the one above usually takes by hand. You still check every number against the sheet it came from.
That part doesn't go away, and it shouldn't.
Plankore runs the same way: AI drafts the first-pass takeoff, you trace every quantity back to the sheet it came from, and you adjust what matters before you submit.
Plankore's Free Forever plan needs no credit card, which matters when you're comparing it against a desktop seat near $2,000 a year or a cloud subscription at $3,000 or more, as published in September 2026. Plankore Pro adds AI wall, window, and door detection, currently in beta. See current pricing.
It also runs in the browser, so a Mac doesn't shut you out the way it does with most of the desktop-only tools built for this trade a decade ago.
If you need full auto-measure depth across a complex commercial set today, Kreo and Togal.AI go further than we do right now. For a residential or light commercial bid you're building from a plan set on your own, the free tier gets you through Step 4 above without touching a scale ruler.
Compare that against current takeoff software pricing before you commit to a seat.
You now know the process. The only decision left is whether you run it by hand this weekend or let the first pass build itself while you check the numbers that matter.
Start free and run your next takeoff against a real plan set instead of a blank spreadsheet.

About the author: Khoi Nguyen, P.E., GC, has reviewed thousands of plan sets and bid hundreds of real projects. Bidding was his own pain point, and when the tools he tried didn't work the way he needed, he built Plankore.
Frequently asked questions
What's the difference between a construction bid and an estimate?
An estimate is your internal cost projection: labor, materials, equipment, and overhead. A bid is the number you submit to a client, built from that estimate plus your markup and any bond or insurance requirements. The estimate is for you, and the bid is what the client signs.
How long does it take to bid a construction job?
A straightforward residential job with a 20 to 30 sheet plan set usually takes 4 to 8 hours for the takeoff alone, plus pricing and assembly. Commercial bids with multiple sub trades and CSI divisions can run several days, especially when sub quotes come in late.
What percentage should I add for markup on a construction bid?
Most residential general contractors mark up direct costs 10 to 20 percent to cover overhead and profit, with remodel and addition work often landing at the higher end. The right number depends on your overhead, your market, and how much risk the project carries. Track your results to check if your markup is covering what it should.
Do I need a bid bond to submit a construction bid?
Bid bonds are typically required on public projects and larger commercial jobs, usually 5 to 10 percent of the bid amount. Private residential work rarely requires one, so check the solicitation documents to be sure. If a bond is required and missing, your bid gets rejected regardless of price.
What software helps with construction bidding?
Takeoff and estimating software speeds up the quantity takeoff and pricing steps, the part of bidding that eats the most time. Plankore's Free Forever plan needs no credit card and covers takeoff and estimating for any trade. Paid tools cost more: PlanSwift lists near $2,000 per seat per year, and STACK runs about $3,000 to $3,600 per user per year on annual billing. PlanSwift ended its perpetual licenses in 2025, so both are subscriptions now.