Create your first project
Start a project, upload your plans and open them so you can start measuring.
In Plankore, a project is one job. It holds the plans for that job, everything you measure on them, and the estimate you build from those measurements.
Create a project
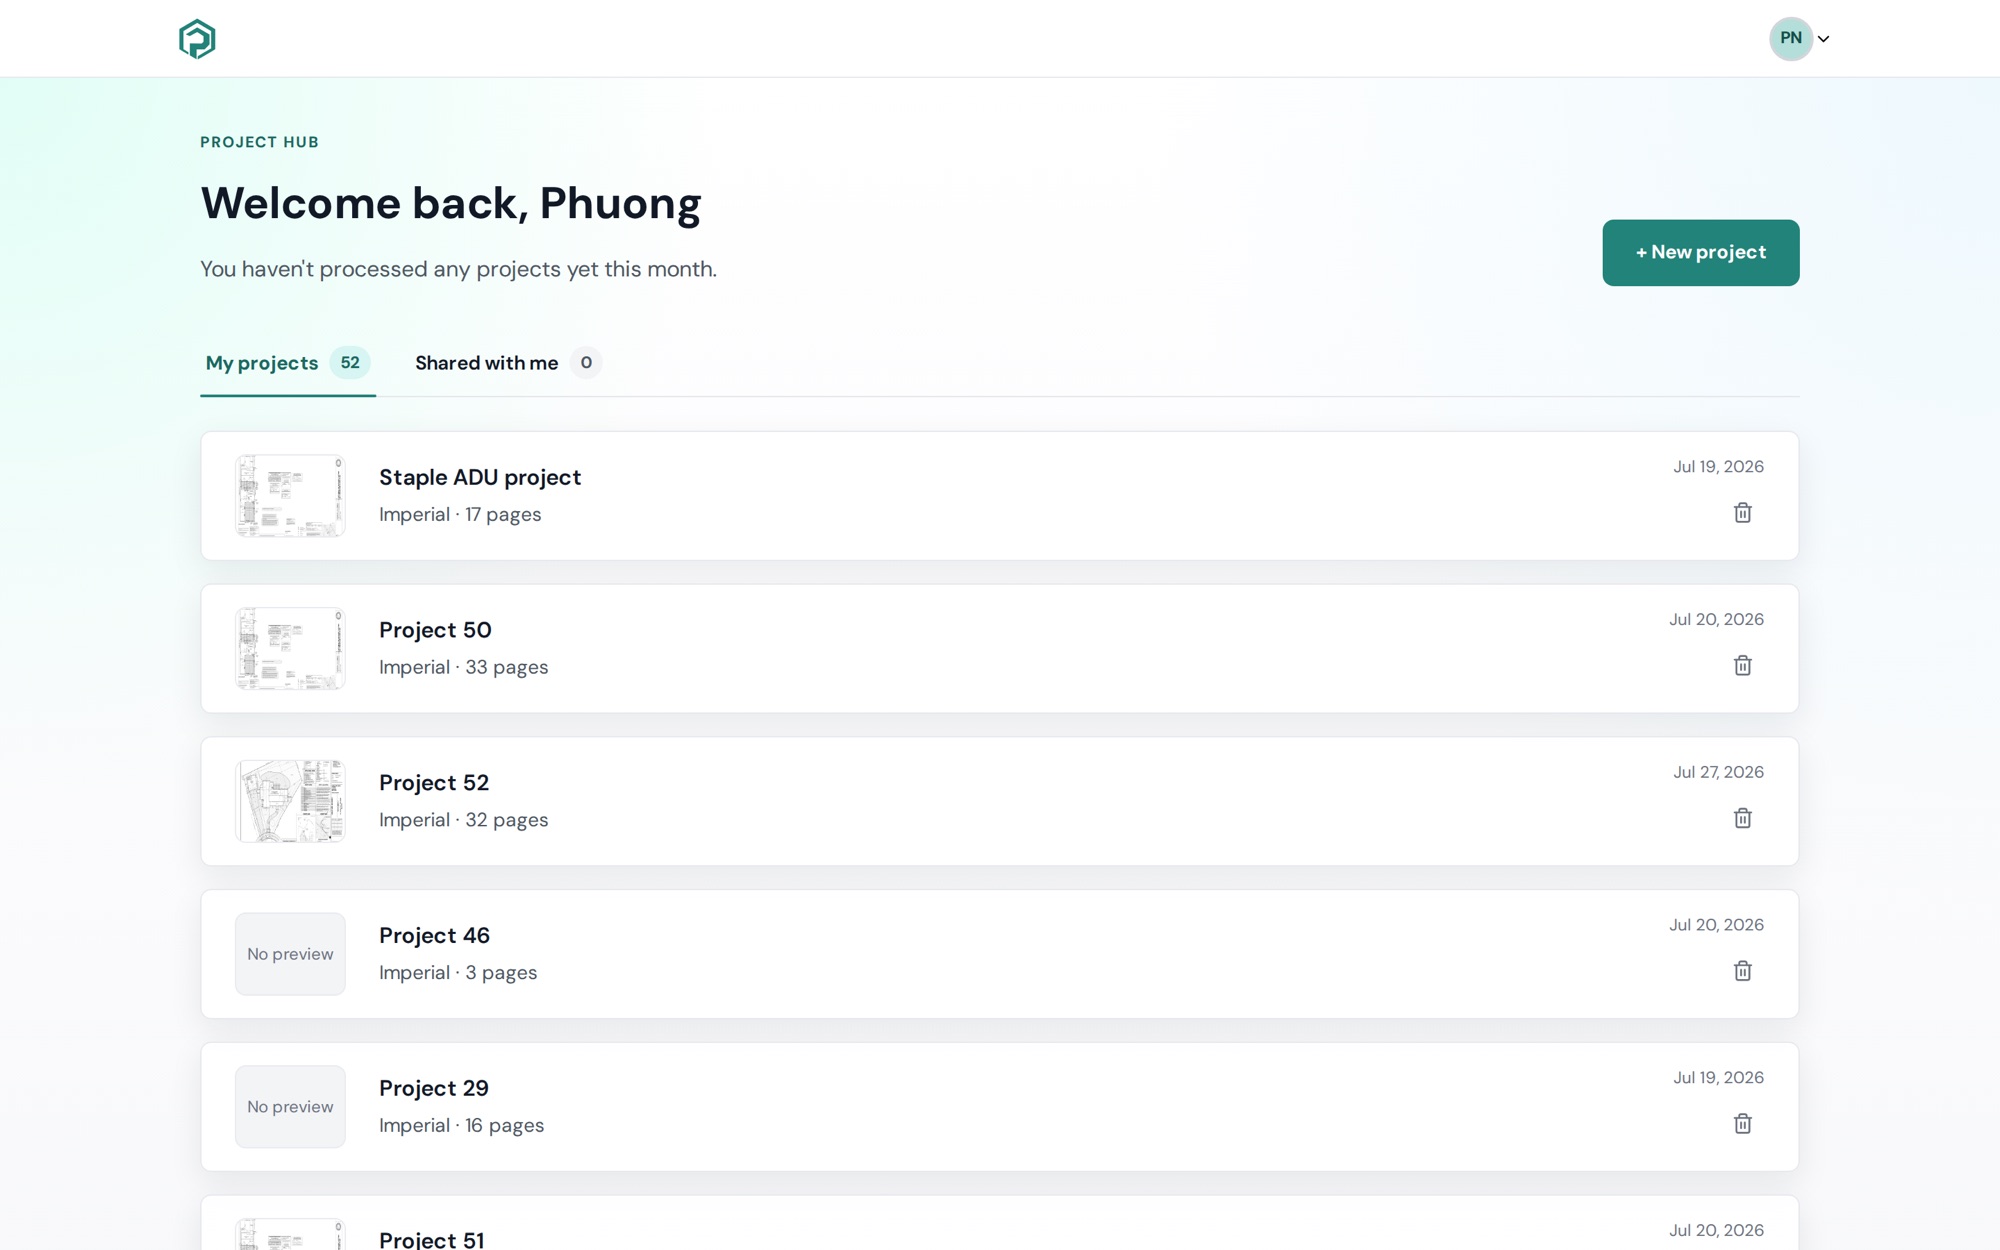
On your dashboard, click + New project.
Give the project a name. Plankore suggests one, like "Project 3", but you can type your own now or change it later.
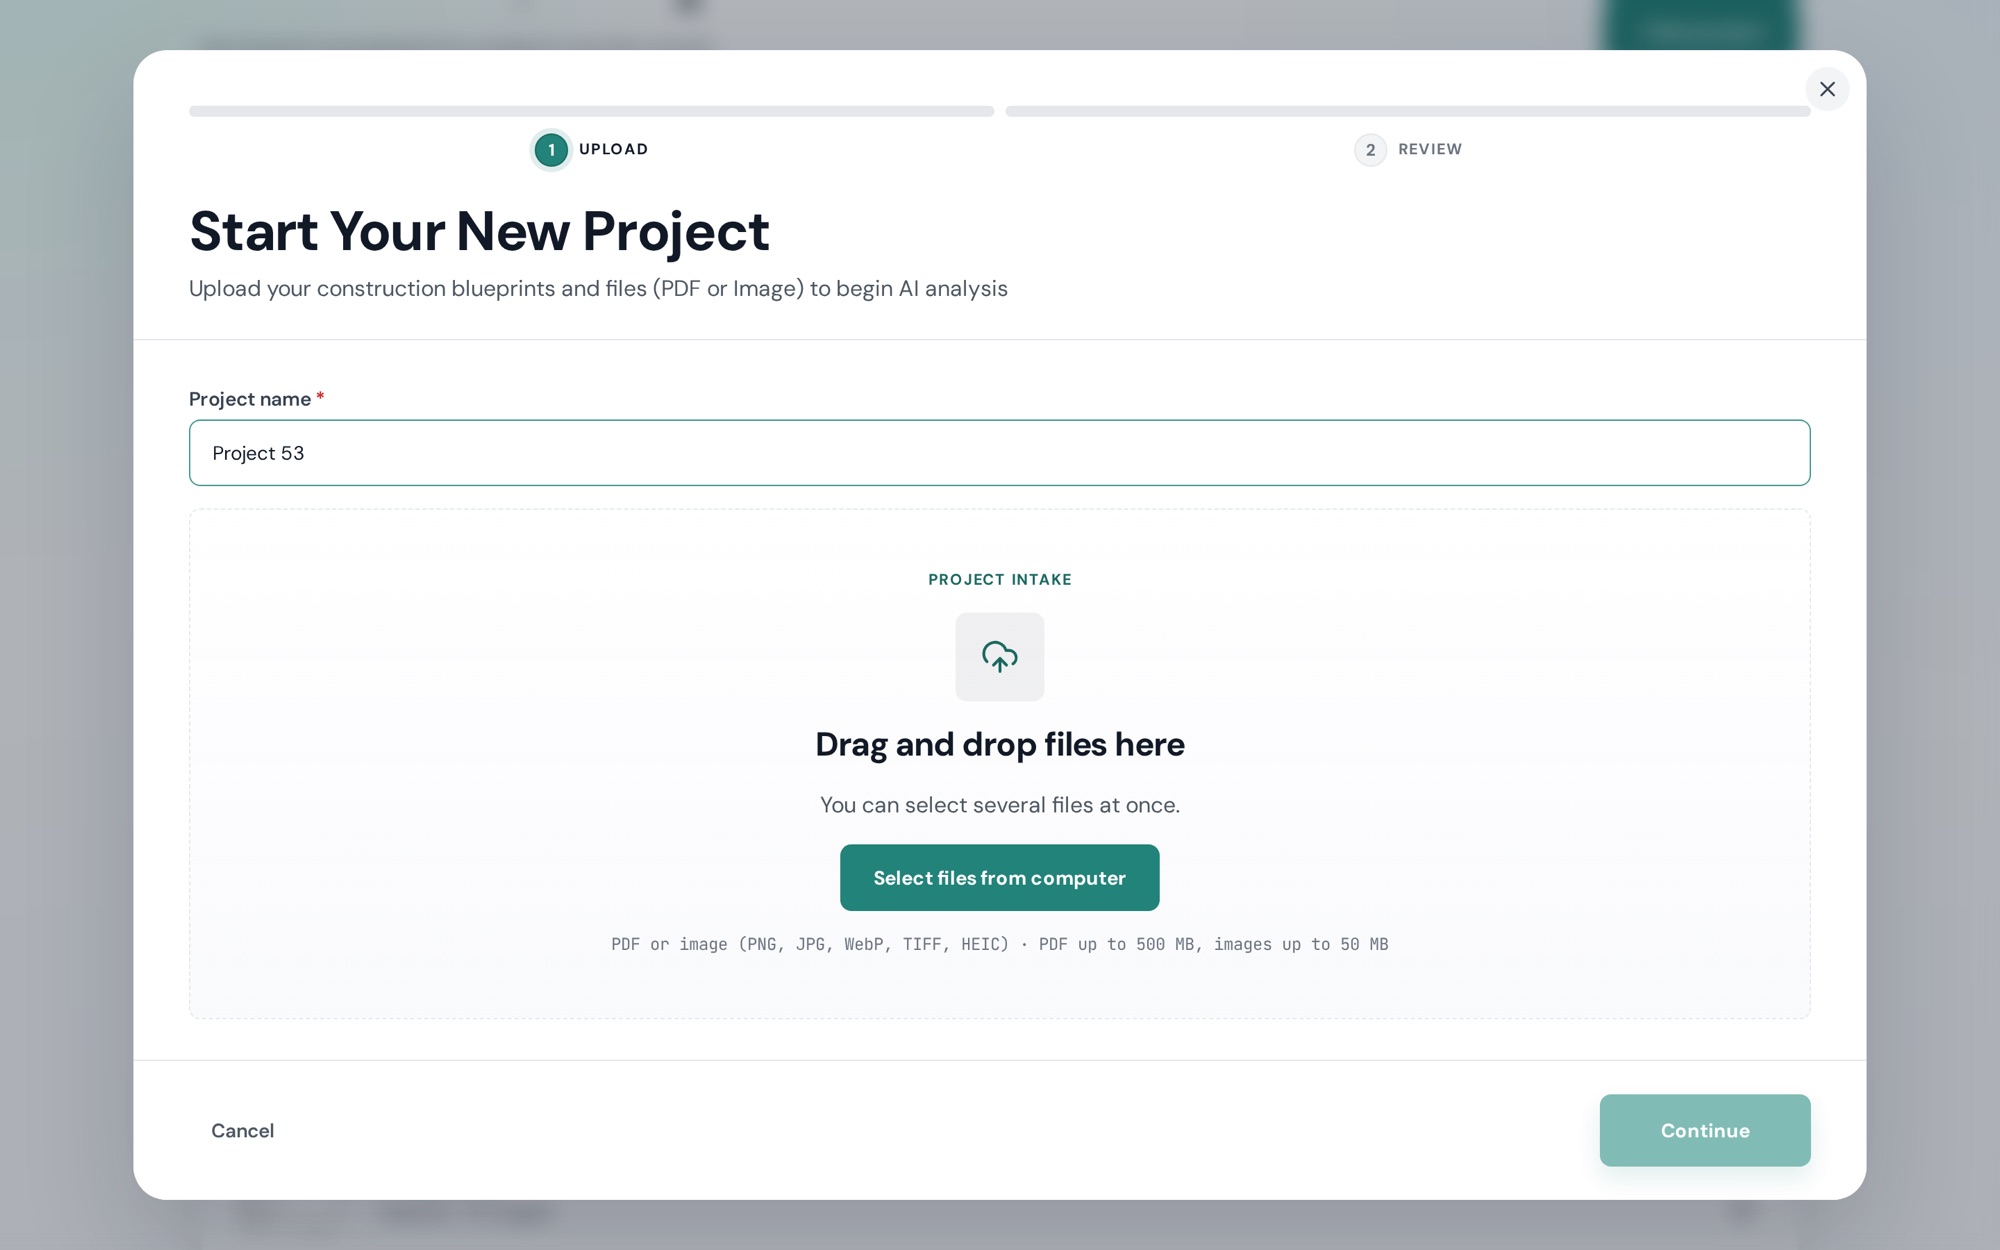
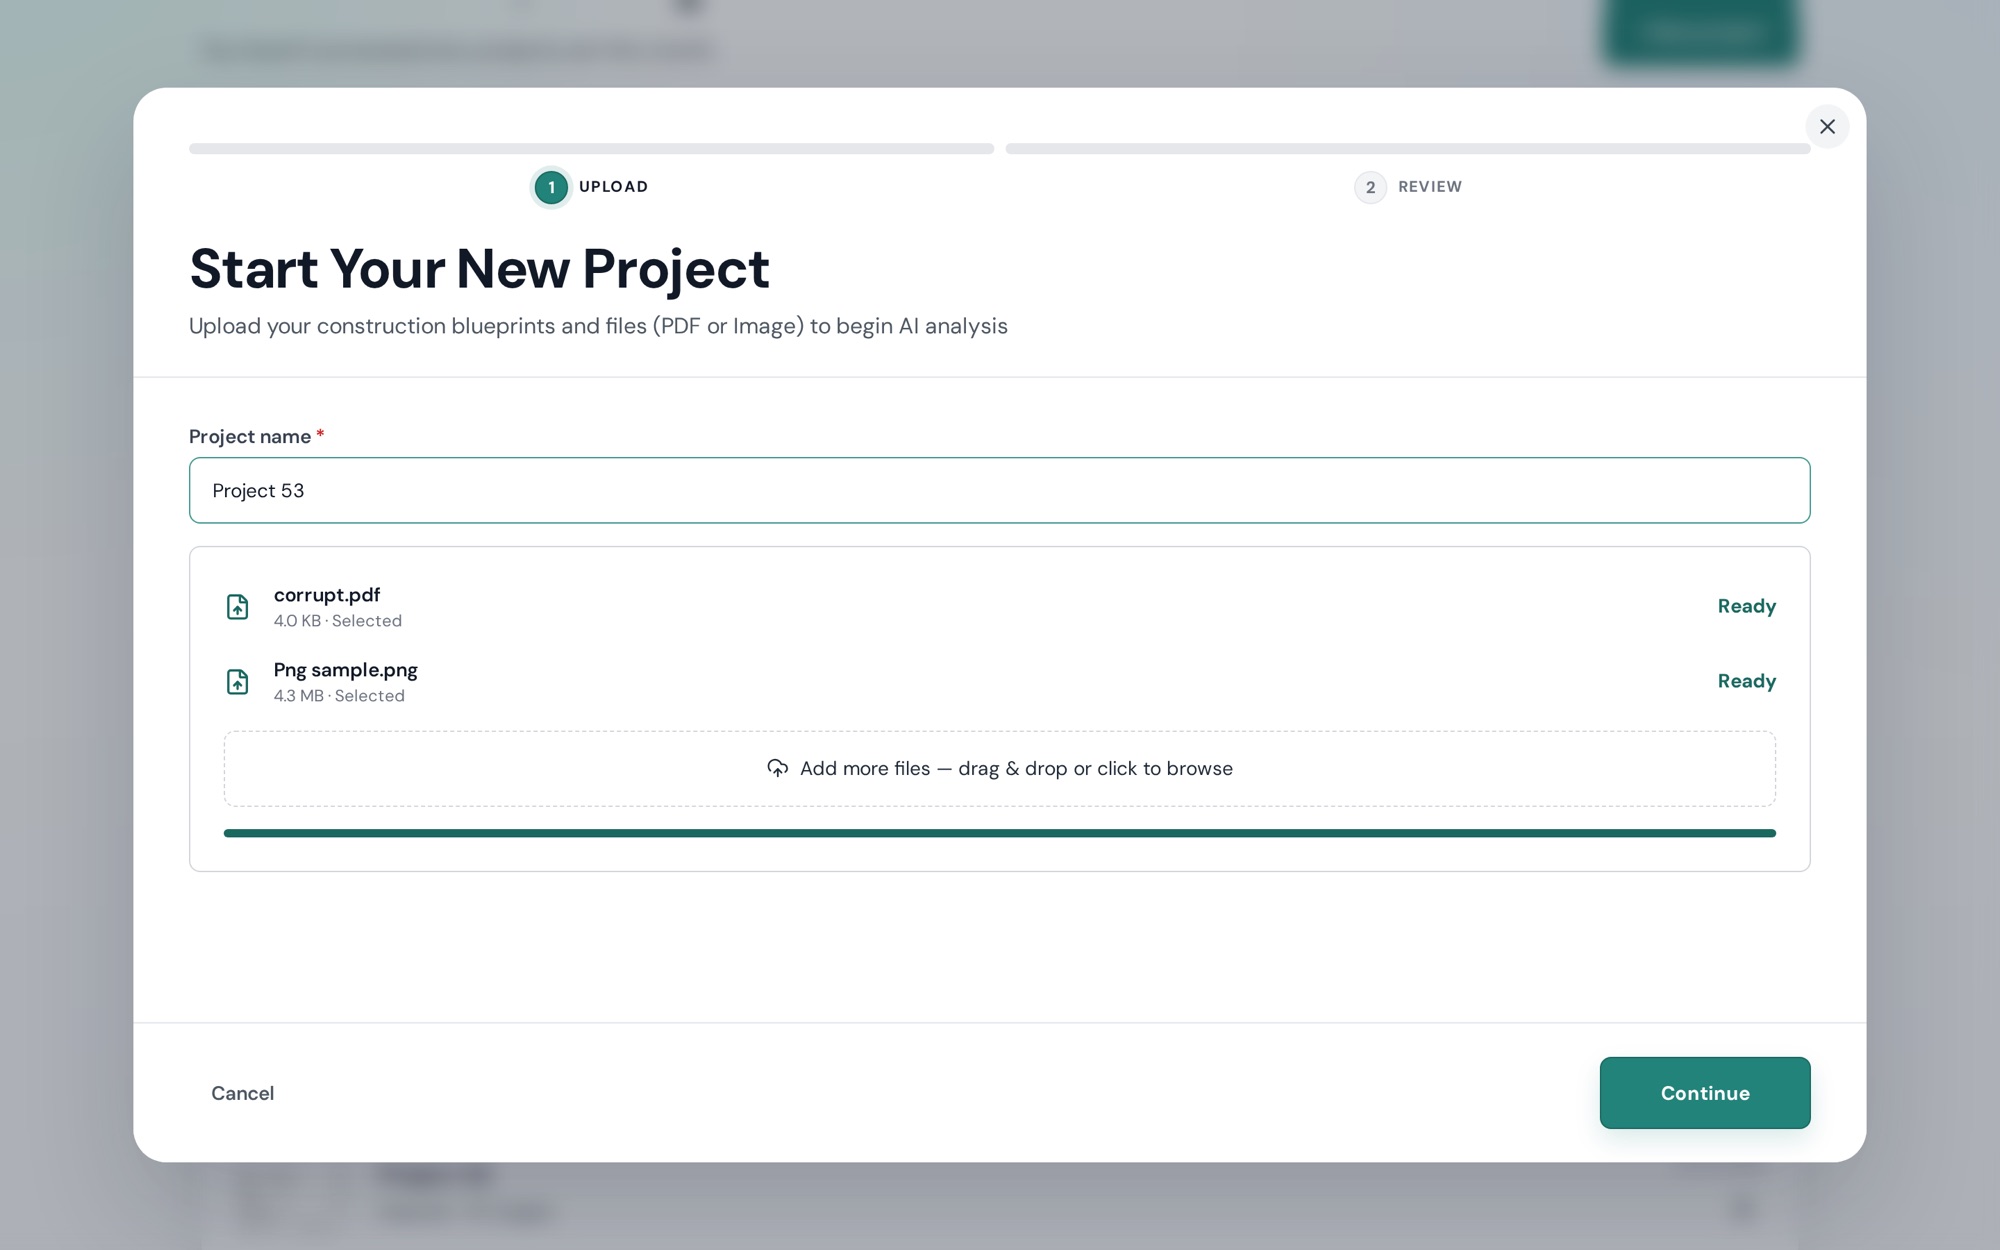
Drag your plan files into the upload box, or click the box to choose them from your computer. You can add several files at once. PDFs work, and so do images such as PNG, JPG, WEBP, TIF and HEIC. See Supported files and upload limits for the full list.
If your plan includes AI, you'll see a step called Automate Your Takeoffs with AI. Choose what you'd like the AI to find, or skip this step if you'd rather measure everything yourself.
Plankore checks your files and marks each one Good, Processing… or Failed. A failed file doesn't hold up the others. You can remove it and keep going.
Click Continue to Takeoff & Bid. Your project opens right away, even if some pages are still loading.
What happens next
- Your pages show up in Page Preview on the left, one thumbnail per sheet.
- On Plankore Pro, the AI starts reading sheet names and scales. You'll see "AI scanning…" on the thumbnails while it works.
- Before you measure, set the scale on the page. See Set the page scale.
Settings, renaming and deleting
Units and sales tax are set on the Project Details tab. See Project Details and Settings.
To rename or delete a project, go back to your dashboard. See The Project Hub.
Limits
A project can have up to 300 pages on any plan. If your files add up to more than that, Plankore will tell you the selection is over the page limit. You can split the plans into smaller projects, or email hello@plankore.ai to ask about raising the limit.
Free Forever includes 3 projects a month, and so does the 10-day trial. A paid Plankore Pro subscription has no monthly limit. Your dashboard shows how many projects you've processed this month.
Still need help?
Email hello@plankore.ai and we'll reply within 48 hours. So we can find your work quickly, include the email you sign in with and the name of the project.