
A tour of the workspace
Get to know the screen you work in, from the top navigation to the control bar.
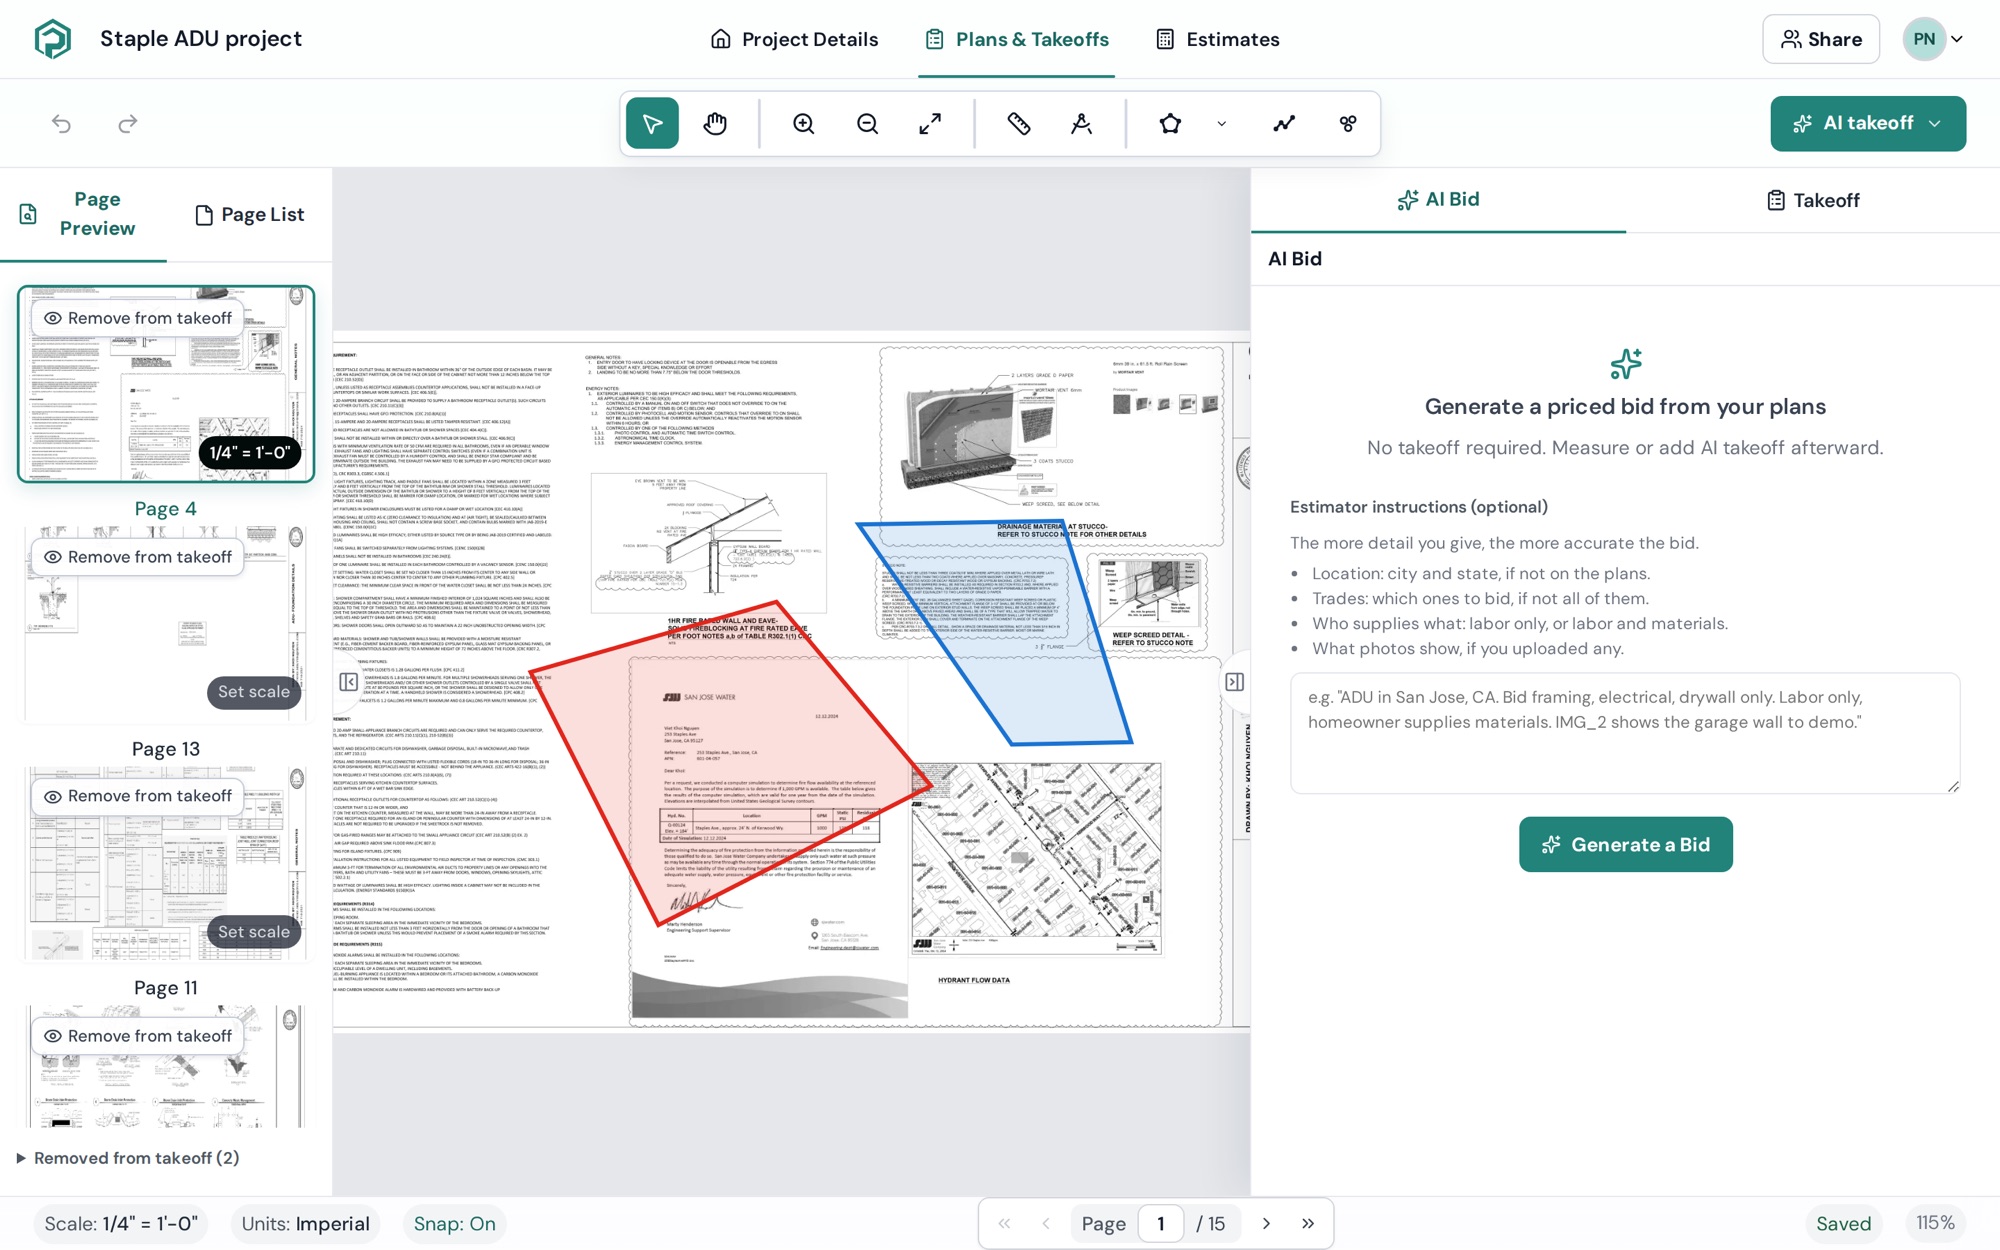
Your workspace at a glance
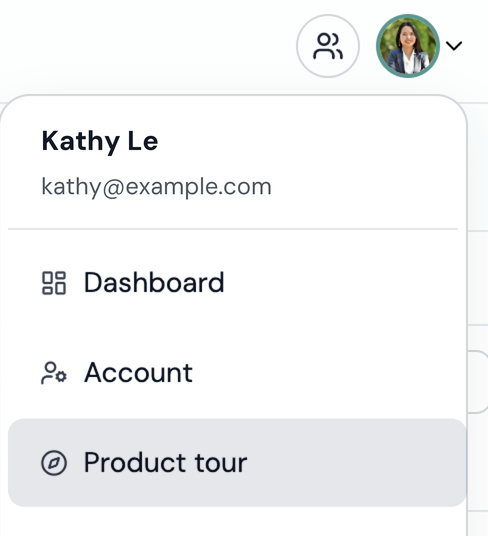
Prefer a guided tour? Open a project, click your avatar in the top right and choose Product tour.
Top navigation

- Project Hub: the page that lists all your projects. Click the Plankore logo in the top left to get back to it from any project. See The Project Hub.
- Project Details: the project's home page. Rename the project, see who it's shared with, set units and sales tax, and manage your plan files. See Project Details and Settings.
- Plans & Takeoffs: the drawing canvas where you measure. This is where you'll spend most of your time.
- Estimates: a spreadsheet-style view of every priced object with quantities, unit costs, markup and totals. Export to Excel or PDF.
- Share: the people icon next to your avatar. Invite teammates and manage who can edit or view.
Left panel: pages
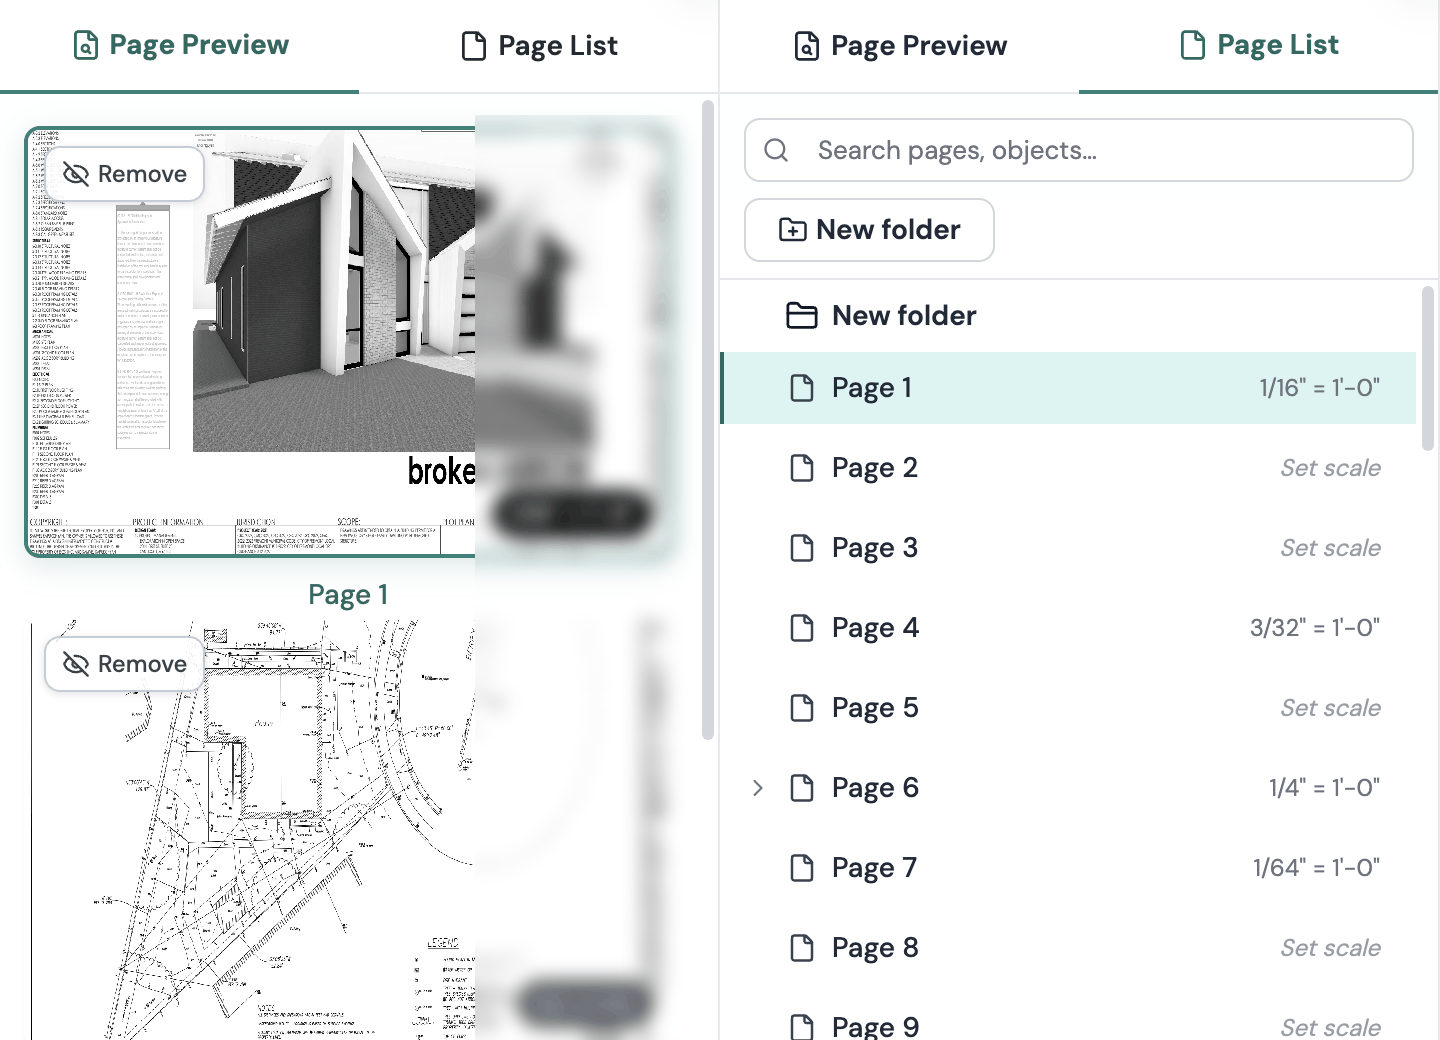
Two tabs:
- Page Preview: thumbnails of every sheet. Rename a page inline, see its scale chip (Set scale or the current scale), and remove/restore pages.
- Page List: the same pages as a tree you can put into folders, reorder by drag, and search.
Drag the panel edge to resize it, or collapse it to get more canvas.
Canvas and takeoff toolbar

Undo and Redo sit on the left. Then come three groups:
- Canvas tools: Move, Pan, Zoom in, Zoom out, Fit to page, Find text (⌘F / Ctrl+F), Measure and Calibrate Scale.
- Takeoff tools: Area, Linear and Count, then the Smart tools: Smart Area, Smart Linear and Smart Count, which finds matching text or symbols.
- AI takeoff: the button on the right opens AI navigation, which reads page names, scales and reference links, and AI floorplan, which detects walls, rooms, doors and windows.
Smart tools and AI takeoff need Plankore Pro. Find text works on every plan. Shortcuts for every tool are in Keyboard shortcuts.
Right panel: Takeoff, Templates, AI Bid
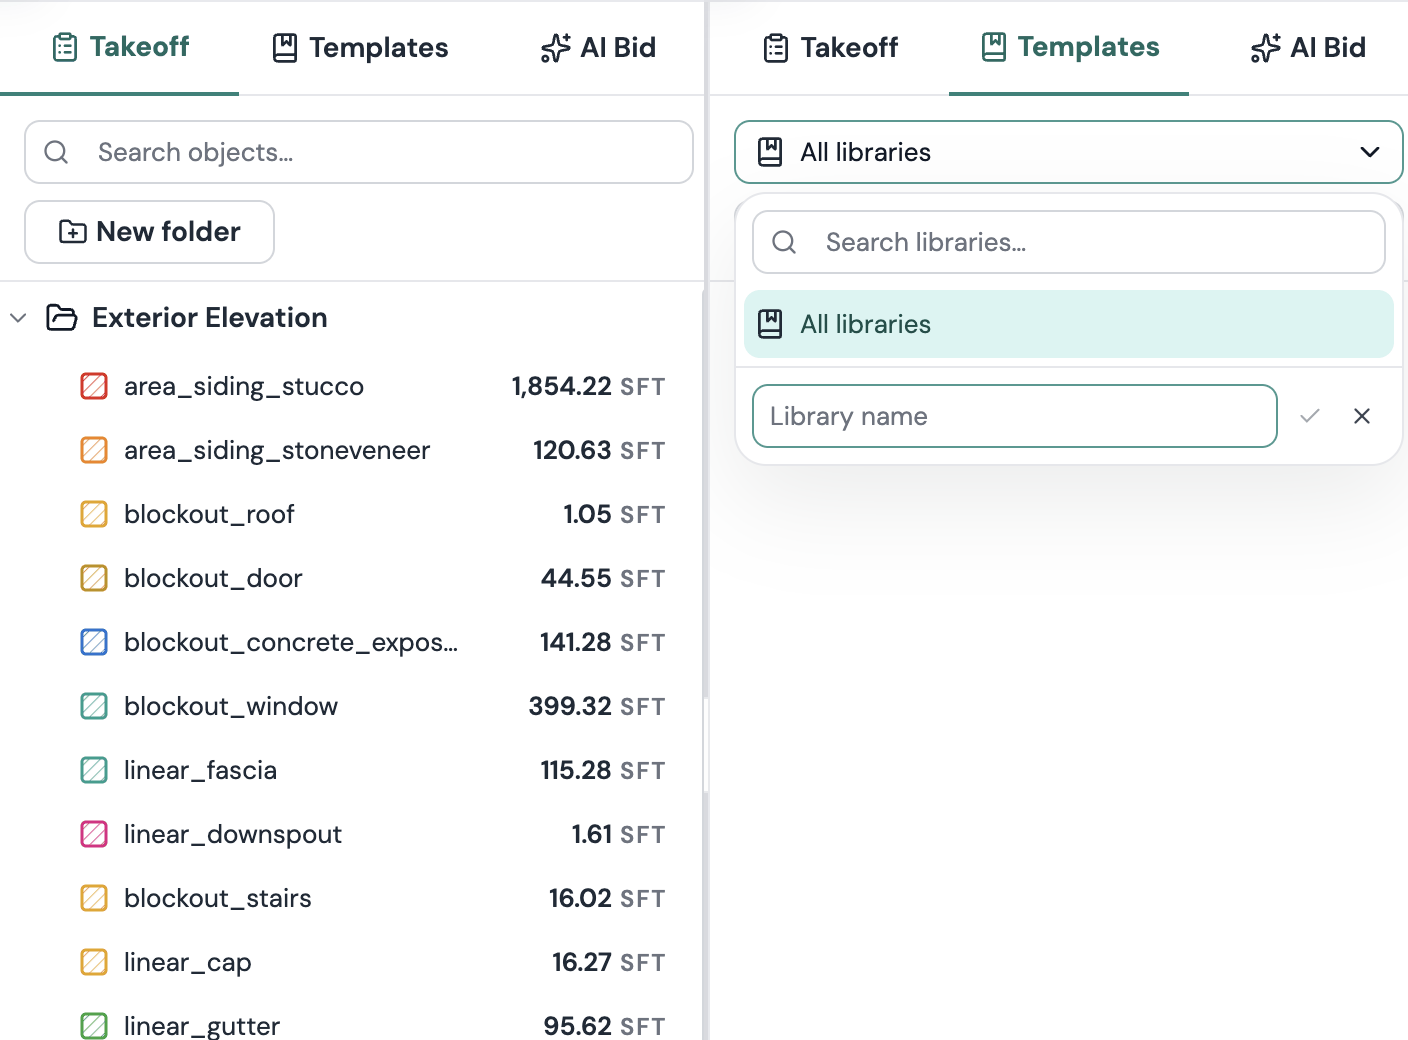
- Takeoff: every object you've drawn, grouped into folders, with a search box and New folder. Rename, recolor, show or hide objects and move them between folders. Click a row and the canvas jumps to it. Select an object to see and edit its properties, like its name, CSI Division, color and quantities.
- Templates: assemblies and parts you can apply to what you measure, so quantities and prices fill in for you.
- AI Bid (separate product, coming soon): generate, price and export a bid for a residential project.
Control bar

On the left: the page scale (or Not set), the zoom level and the save status (Saved, Saving… or Unsaved). Everything saves automatically. In the middle: page navigation. On the right:
- Units: Imperial or Metric for this project.
- Orthogonal: when on, lines lock to horizontal and vertical. Press O to switch, or hold Shift while drawing for one straight line.
- Highlights: show or hide region highlights on the plan. Press H.
- Snap: snap your clicks to the lines on the plan. Press F. Needs Plankore Pro.
Still need help?
Email hello@plankore.ai and we'll reply within 48 hours. So we can find your work quickly, include the email you sign in with and the name of the project.