
Edit takeoffs: merge, split, move and assign
Join touching areas into one, cut sections along a line, pull sections out into an object of their own, or assign them to an object that already exists.
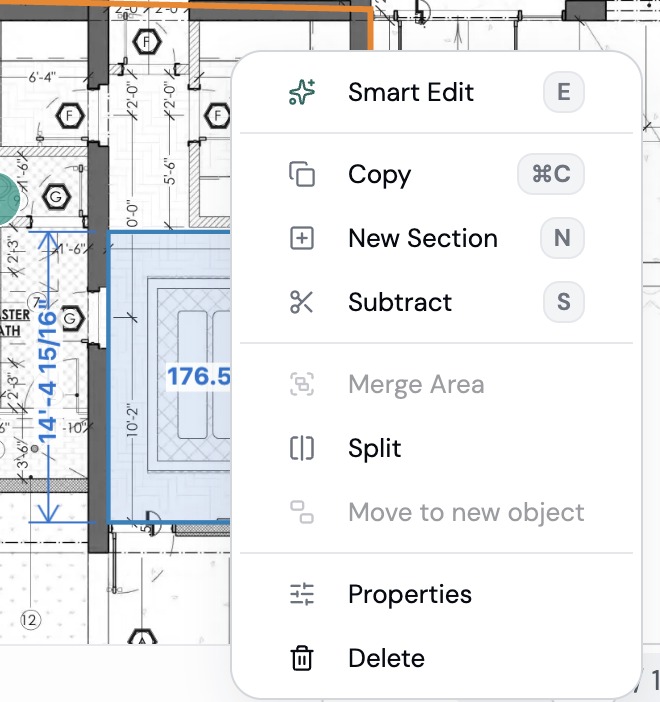
All four live in the right-click menu on the plan. Select the shapes first with Move (V). Hold Shift and click to select more than one. See Edit takeoffs: reshape, add/remove points.
Merge areas
Merge joins two or more areas into one section.
- Select the areas you want to join.
- Right-click one of them and choose Merge Area.
The areas need to be on the same page and touch, overlap or sit right next to each other. If they don't, Merge Area is greyed out and hovering over it tells you why, for example "These areas don’t touch, so there is nothing to merge."
If the areas belong to different objects, Merge Area opens a short list of those objects. Pick the one the merged area should belong to.
Split sections
Split cuts areas or lines into pieces along a line you draw.
- Select the sections you want to split.
- Right-click and choose Split. A hint says "Click two points across the sections".
- Click once on each side to draw the cut line. Hold Shift to keep it straight.
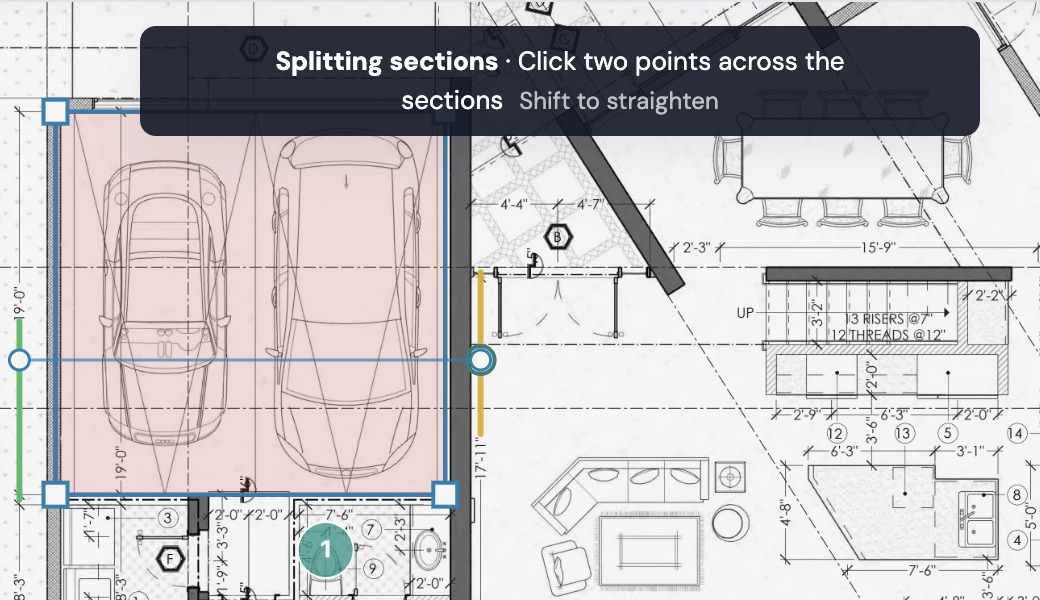
Each section the line crosses becomes two pieces. They stay in the same object. Press Escape to cancel.
Move sections to a new object
Use this when some sections really belong to a different material, like two rooms that are tile instead of carpet.
- Select the sections to move. They need to be the same kind: all areas, all lines or all counts.
- Right-click and choose Move to new object.
- Name the new object, pick a color and click Save.
If the old object had assemblies applied, Plankore asks which ones to copy to the new object. Tick the ones you want and click Create object.
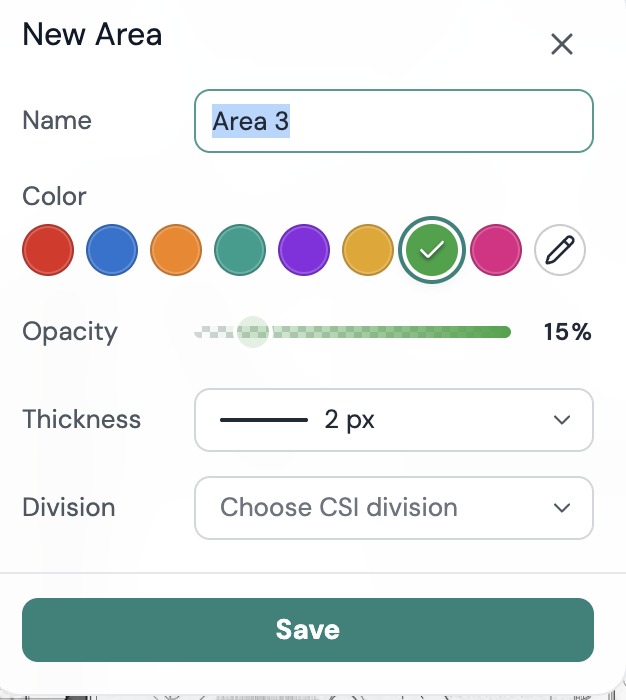
The sections move to the new object and stay selected, and the Takeoff panel shows the new object.
Assign sections to an existing object
Use this when sections were drawn or detected into the wrong object, and the right one already exists. For example, a room counted as Carpet that is really Tile.
- Select the sections to assign. They need to be the same kind: all areas, all lines or all counts.
- Right-click one of them and point to Assign to object.
- Pick the object from the list. It shows the other objects on this page that measure the same way.
If nothing is removed or left behind, the assign happens right away. The sections join that object and take its name, color and division. Their thickness and opacity stay the same. Assemblies applied to a single section stay with the old object.
You can also assign a whole object from the Takeoff tab: right-click the object and choose Assign to object. Every section moves into the object you pick. This works for an object whose sections are all on one page. If no object can take the sections, the list tells you why.
If the assign takes every section out of an object, Plankore asks first, for example "Carpet loses every section, so it is removed." Click Assign to go ahead. If that object had assemblies applied, the message counts them, and they are removed with it. The object you assign to keeps its own assemblies.
On the plan, Assign to object is greyed out when there is nowhere to put the sections. Hover over it to see why, for example "There is no other object on this sheet that can take these sections." Joist sections can't be assigned, because the Joist tool draws them as a set.
Still need help?
Email hello@plankore.ai and we'll reply within 48 hours. So we can find your work quickly, include the email you sign in with and the name of the project.